Get Started
Moving computers and need to move your Estimating Link software and projects to your new computer? Follow the instructions below to easily make the move.
Haven't installed the software on your new computer yet? You'll need to complete the installation before you can complete Step 2 below.
👉 Follow these instructions to install the software on your new computer.
💡Tip: Use a file share program (Google Drive, OneDrive, Dropbox) or USB Flash Drive to easily move your project files from one PC to another.
Step 1 - Save your projects
In Estimating Link
- Go to File > Export > Backup Project
- Select which projects you would like to Backup. (Use the shift key to select a range and/or use the control key to select certain projects.)
- Choose the location you would like to save the projects to.
- Click OK
Using Windows File Explorer
On the computer that you would like to transfer the projects from, open file Explorer and navigate to your C Drive. From here, Program Files (x86) > Construction Link > Estimating Link V3 > Backups.
Sort your Backup files by Type. Scroll until you see file extension CLI File. Highlight the files you'd like to save to your USB Flash Drive. Right click and select Copy:

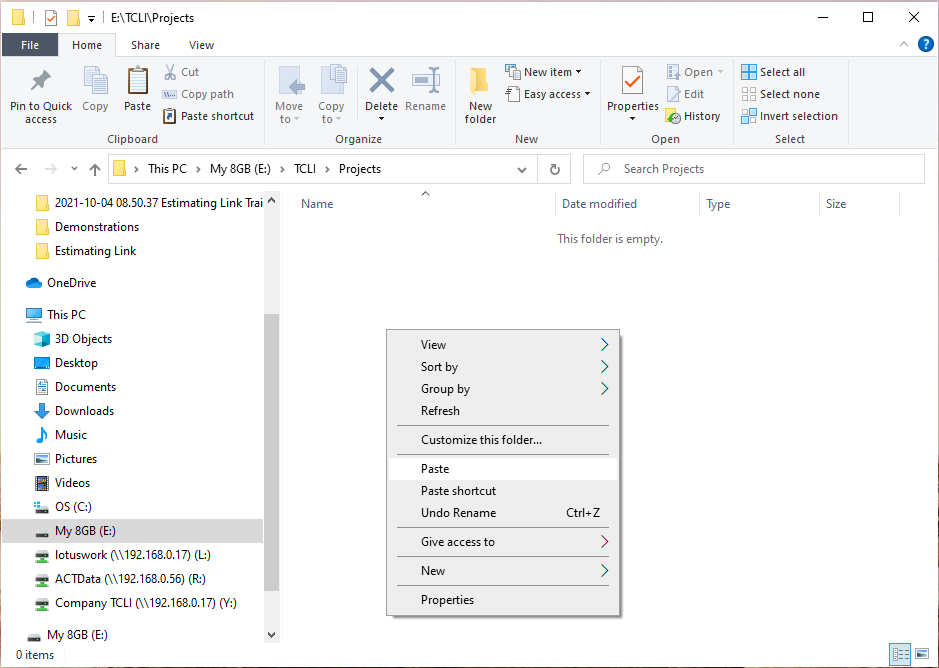
Using File Explorer, navigate to your USB Flash Drive. On your USB Flash Drive, right click and select paste:
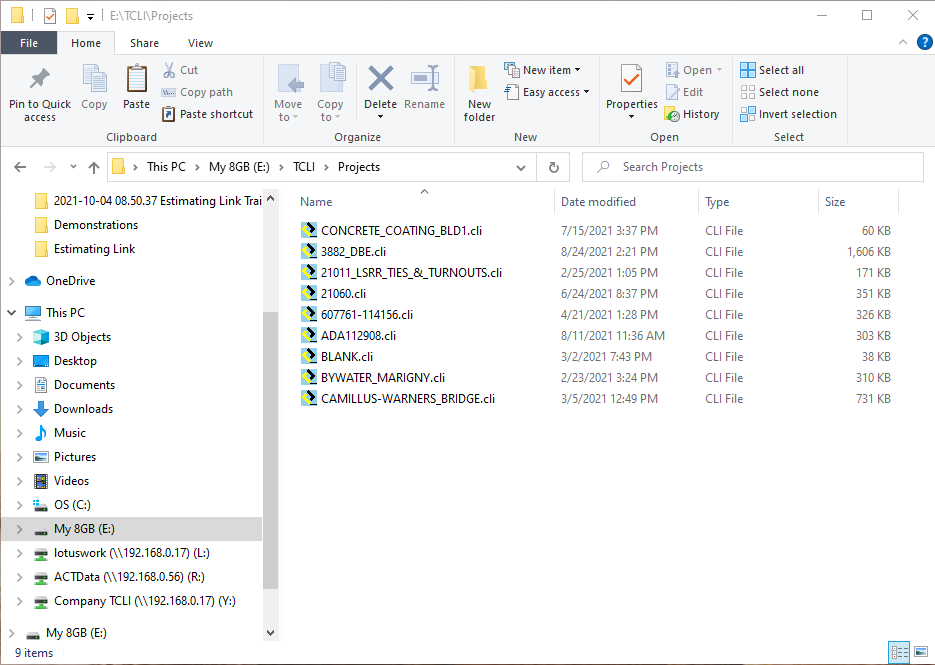
After you've pasted your projects, your USB Flash Drive should be populated with your CLI Files:
Safely eject your USB Flash Drive.
Step 2 - Import your saved projects
Insert your USB Flash Drive into the destination pc.
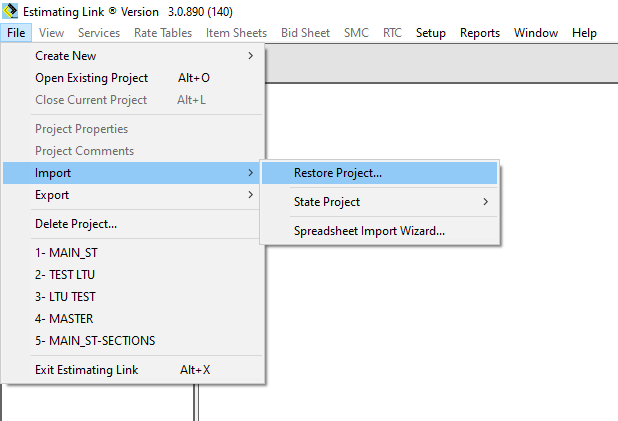
Open Estimating Link. Navigate to File > Import > Restore Project:
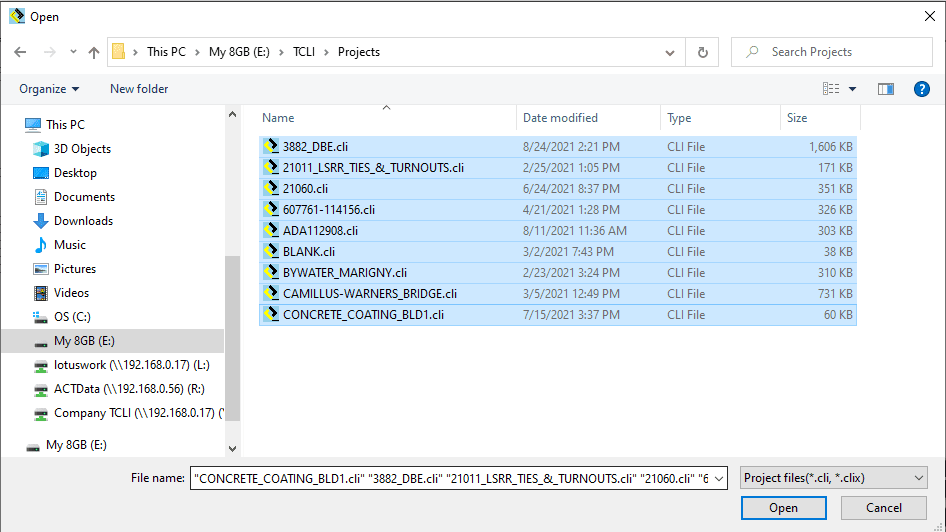
Navigate to your USB Flash Drive and select your projects. Then click Open:
Your projects should now be saved on your destination pc.