
Follow the steps below to set your company logo and adjust the proposal margins for proper alignment in Estimating Link.
⚠️Warning: This article is for CL Web App Users ONLY
🗒️Note: Your image file must be in .jpg format. All other formats are not compatible.
- Open your Estimating Link Software
- From the top right corner, Upload your image in .jpg format
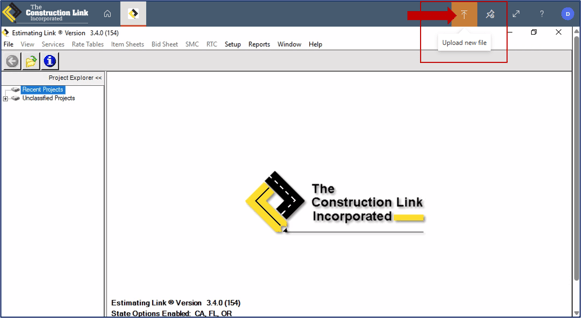
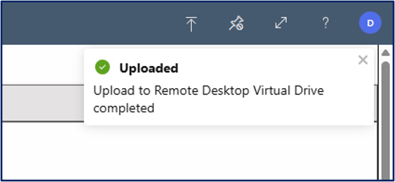
- You will see the following 2 pop-ups that will confirm your image has successfully uploaded to the Remote Desktop Virtual Drive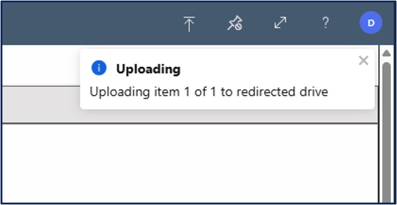
- Click on "Setup>Options" in the Menu Toolbar
- Tab Over to "Printer".
- Under Proposal Settings, make sure "Print Letterhead Image" is checked.
- Click on "Letterhead Image".
- Click "Browse" then navigate in your files to: This PC > Remote Desktop Virtual Drive on RDWebClient > Uploads
- Move or Copy your image from the Uploads folder to the Pictures Folder
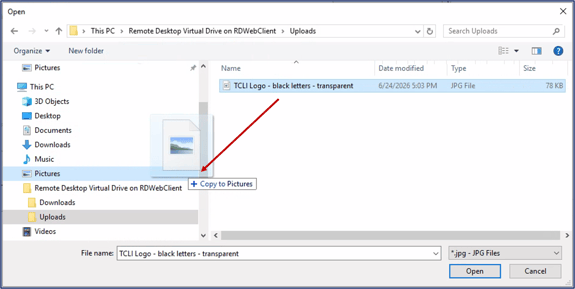
- Select the Pictures folder > Select your Image > Click Open
- Use the chart below to help you determine the location and margins for your image
🗒️Note: Cloud Link Web App is designed to regularly delete everything out of your uploads and downloads folder. If you don't move your image to the pictures folder, it will get deleted by the system and WILL NOT show up on your future proposals.
Suggested Margin Settings for Proper Alignment of Logo
Left Aligned Logo |
Centered Logo |
Right Aligned Logo |
|
Top Margin |
0.10 |
0.10 |
0.10 |
Left Margin |
0.25 |
3.00 |
6.00 |
Right Margin |
6.00 |
3.00 |
0.25 |
Bottom Margin |
0.10 |
0.10 |
0.10 |
💡Tip: To make your image larger, make your left and/or right margin size smaller. If you want the image smaller do the reverse and make the margin size bigger.
If we can be of further assistance, please reach out to us at anytime: (800) 448 - 0741 or Support@TCLI.com.