Step-By-Step Instructions To Set Up Your Cloud Link On An Apple Ipad
Easy Step-by-step instructions to setup your Virtual Desktop on your ipad
What you’ll need:
- CL Username
- CL Password
- CL Server Name
- CL Gateway Name
Step 1 – Download Microsoft Windows App onto your iPad (Previously Microsoft Remote Desktop  )
)
Open the App Store on your iPad

In the search bar, search for “Microsoft Windows App.”
Click Get to start the download. Click on the Microsoft Windows App icon to open the app.
Step 2 – Configure Cloud Link on Microsoft Windows App
While in the Microsoft Windows App, click the plus sign located at the top right.
- Select Add PC and the following window will be displayed:

- Select PC Name and enter your PC Name (this is your CL Server name).
- Click the carrot in the top left of the window to go back.
- Select User Account and then select Add User Account.
- Enter your CL Username
- Enter your CL Password
- Select Friendly Name and title it Cloud Link.
- Click the carrot in the top left of the window to go back.
- Click Save on the top right of the window.
- Click the carrot in the top left of the window to go back.
- Select No Gateway Configured to configure the gateway.
- Select Add Gateway
- Enter your Gateway name (this is your “CL Gateway” name)
- Click the carrot in the top left of the window to go back.
- Click Save on the top right of the window.
- Click the carrot in the top left of the window to go back.
- Click Save on the top right of the window and then close the window.
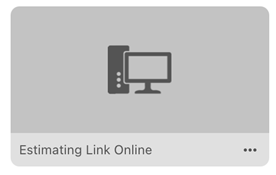
You will now have Cloud Link listed as a selection. To open your Cloud Link, click the box and it will open:

